News
Site Editor
 Site
https://forwardspackaging.usa02.wondercdn.com/uploads/image/634cb662cf230.png
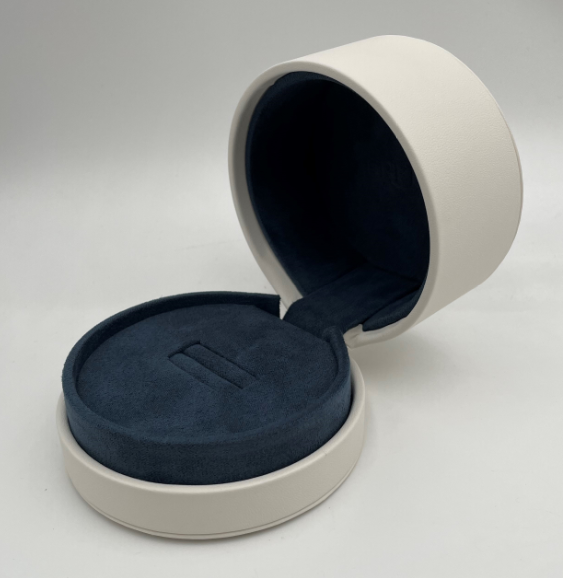
Wooden ring boxes are an integral part of wedding ceremonies and other special events. A custom-made box can hold a special personal touch that cannot be found in store-bought products. In this article, we will look at the steps required to make a customized wooden ring box that can be treasured for years to come.MaterialsThe first step in making a wooden ring box is to gather the necessary materi
Site
https://forwardspackaging.usa02.wondercdn.com/uploads/image/634cb662cf230.png
Wooden ring boxes are an integral part of wedding ceremonies and other special events. A custom-made box can hold a special personal touch that cannot be found in store-bought products. In this article, we will look at the steps required to make a customized wooden ring box that can be treasured for years to come.MaterialsThe first step in making a wooden ring box is to gather the necessary materi
how to make custom wood ring box
Views: 866
Author: Site Editor
Publish Time: 2023-06-19
Origin: Site
Wooden ring boxes are an integral part of wedding ceremonies and other special events. A custom-made box can hold a special personal touch that cannot be found in store-bought products. In this article, we will look at the steps required to make a customized wooden ring box that can be treasured for years to come.
Materials
The first step in making a wooden ring box is to gather the necessary materials. Some of these materials include:1. Wood- You can use any type of wood as long as it is 1-inch in thickness. Popular choices include maple, oak or cherry.2. Sandpaper- You will need 150, 220, and 400 grit sandpaper.3. Wood stain- Select a wood stain that matches your personal preference.4. Polyurethane finish- For a long-lasting finish use polyurethane.5. Saw- You will need a saw to cut the wood.6. Drill- You will need a drill to create holes for the rings.7. Chisel- You will need a chisel for finer details.Steps
Step 1: Cut the wood to fit your desired sizeUsing a pencil and a ruler, draw your desired shape onto the wood. Then use the saw to cut out the shape.Step 2: Sand the edgesUse the 150 grit sandpaper to sand the edges of the box. Then use the 220 grit sandpaper to smooth out the edges.Step 3: Create the ring holdersUsing the drill, create two holes in the center of the box to hold the rings securely in place. Make sure the holes are an appropriate size for your rings.Step 4: Sand the boxUse the 400 grit sandpaper to smooth out the entire box and ensure there are no rough spots.Step 5: Apply wood stainUsing a clean cloth, apply the wood stain to the box. Allow the stain to dry for at least 24 hours. If you want a darker finish, apply a second coat.Step 6: Apply Polyurethane finishUsing a brush, apply the polyurethane finish to the box. Allow it to dry for at least 24 hours.Step 7: Add finishing touchesUsing a chisel, add any finishing touches to the box. This could include carving designs or engraving a message.Conclusion
A custom-made wooden ring box can add a special touch to any wedding ceremony or other special event. It is a personal and unique way to showcase and protect your rings. By following the above steps and gathering the necessary materials, you can create a personalized wooden ring box that will be cherished for years to come.