A cosmetic box is an essential item for any makeup lover. It not only keeps your cosmetics organized but also protects them from damage. Making your own cosmetic box is a fun and creative project that allows you to customize it according to your preferences. In this article, we will guide you through the process of making a cosmetic box step by step.
The first step in making a cosmetic box is to gather all the necessary materials. You will need:
Make sure to choose sturdy cardboard sheets as they will provide structural support to your cosmetic box.
Before cutting the cardboard sheets, it is important to determine the design and measurements of your cosmetic box. You can go for a simple rectangular shape or get creative with different compartments and dividers. Use a ruler and pencil to draw the measurements on the cardboard sheets. Make sure to leave extra space for the thickness of the cardboard when drawing the dimensions.
Once the measurements and design are ready, it's time to cut the cardboard sheets and assemble the box. Use scissors to carefully cut along the drawn lines. Start with the bottom of the box, and then cut the four sides according to the height you desire. Apply glue to the edges of the cardboard and join them together, ensuring they are aligned perfectly. Use clips or rubber bands to hold the edges in place until the glue is dry.
Once the basic structure of the box is ready, you can add dividers or compartments according to your needs. Cut additional pieces of cardboard as per your design and glue them inside the box. This will help in organizing different cosmetics separately.
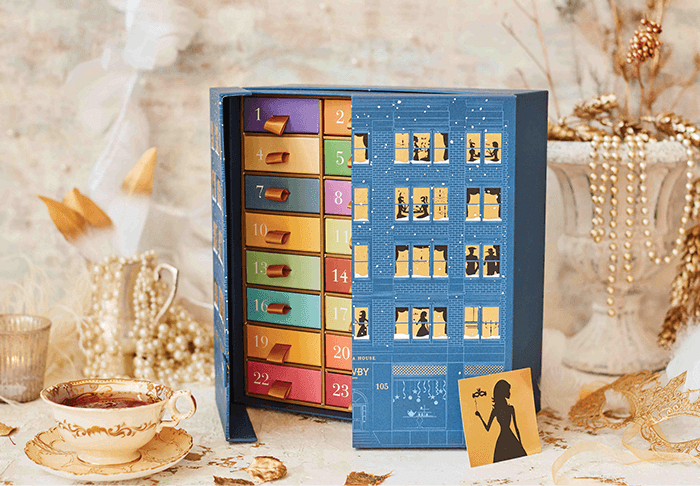
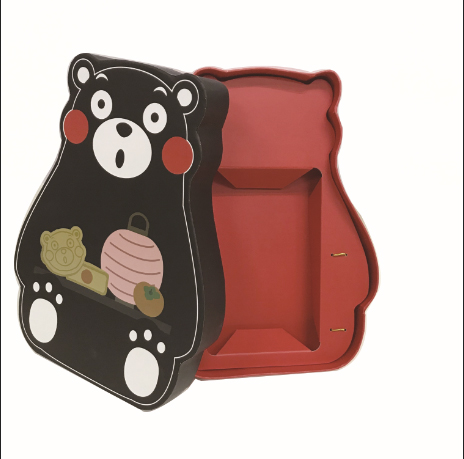
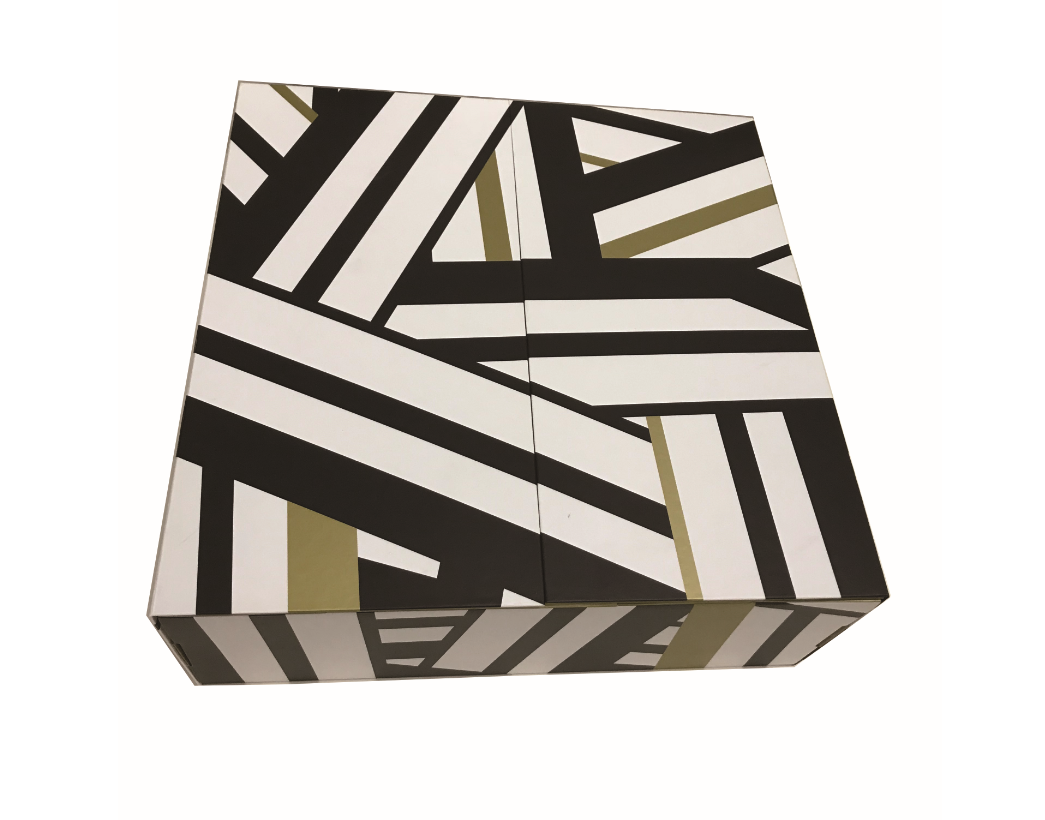
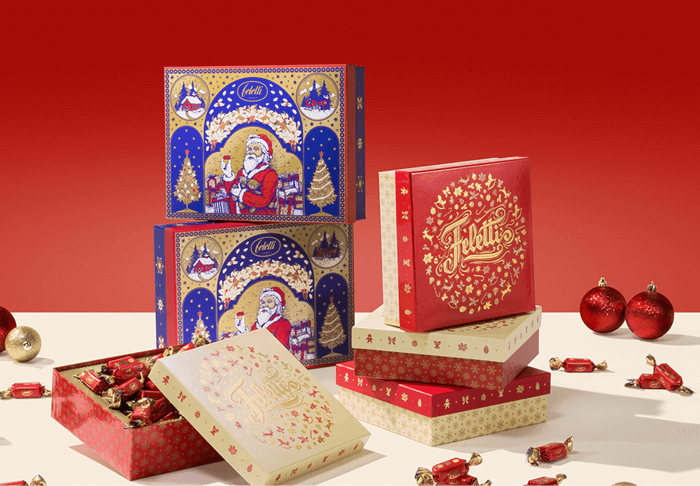
Now that your cosmetic box is assembled, it's time to give it a personalized touch. Use decorative paper or fabric to cover the exterior and interior of the box. Applying glue, carefully stick the paper or fabric and smoothen out any wrinkles or bubbles. You can also use markers or paint to add designs or patterns to the box. Consider adding a handle on the top for easy carrying.
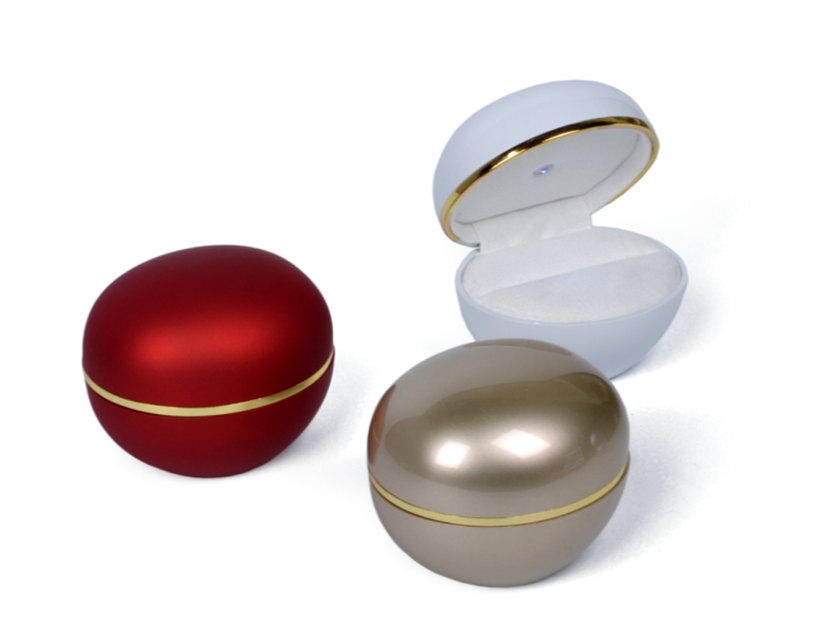
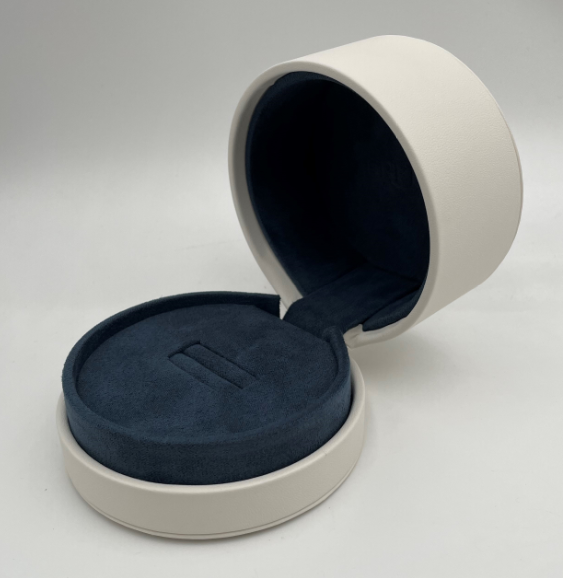
If you want to protect your cosmetics from scratches, you can add a lining to the interior of the box. Cut velvet or felt fabric in the desired size and use glue to attach it. This will add a touch of luxury and protect your precious cosmetics.
Congratulations, you have successfully made your own cosmetic box! Now you can proudly display and store your cosmetics in a personalized and organized manner. Remember, the design and decoration options are endless, so feel free to get creative and make your cosmetic box reflect your unique style. Have fun and enjoy your newly crafted cosmetic box!