Making a watch box design is a great DIY project that allows you to showcase your creativity and craftsmanship. Not only will a well-designed watch box keep your timepieces organized and protected, but it can also serve as a beautiful display piece. In this article, we will guide you through the process of creating a watch box design, step by step. From selecting the materials to assembling the box, we will cover all the essential aspects to ensure a successful and stunning final product.
Before you begin working on your watch box design, gather all the necessary materials and tools. This will ensure a smooth and efficient process. Here is a list of the items you will need:
Once you have gathered all the necessary materials and tools, you are ready to start the process of making your watch box design.
The first step in creating a watch box design is determining the size and layout of the box. Consider the number of watches you intend to store and any additional compartments or drawers you may want. Sketch out your design on paper, taking into account the dimensions of the watches and any other elements you want to incorporate.
Next, measure and mark the dimensions on the wooden sheets or plywood according to your design. Use a saw to cut the pieces, ensuring straight and clean edges. Sand the cut edges with sandpaper to smooth out any roughness.
Once you have all the wooden pieces ready, it's time to start assembling the watch box. Apply wood glue to the edges of the pieces and join them together according to your design. Use clamps to hold the pieces firmly in place while the glue dries. It is important to follow the instructions provided by the glue manufacturer for optimal bonding.
After the glue has dried, attach the hinges to create the lid of the watch box. Make sure the lid fits securely and opens and closes smoothly. You may also choose to add decorative hardware, such as knobs or handles, to enhance the aesthetic appeal of the box.
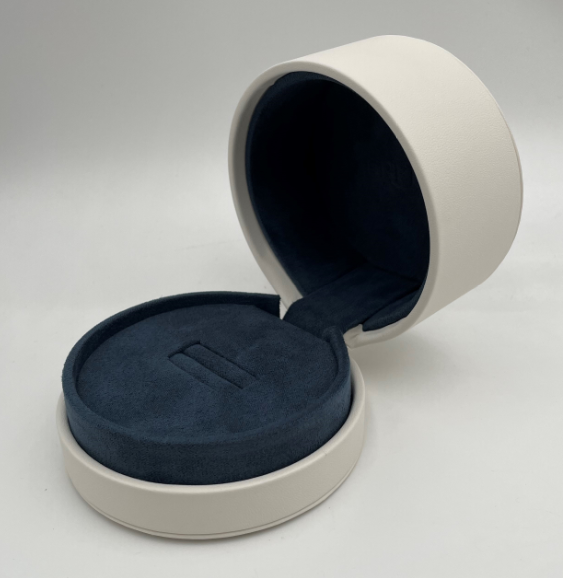
Once the basic structure of the watch box is complete, it's time to add the finishing touches. Line the interior of the box with fabric or velvet to protect the watches from scratches. Measure and cut the lining material according to the dimensions of the box, and use glue or adhesive to securely attach it to the interior surfaces. This will also add a touch of elegance to the box.
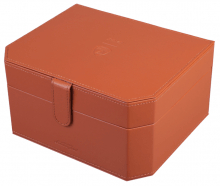
If desired, you can further personalize your watch box design by applying paint or varnish to the exterior. This will not only protect the wood but also enhance its appearance. Choose a color or finish that complements the overall style and aesthetic you envision.
Congratulations! You have successfully created a watch box design from scratch. By following the steps outlined in this article, you have transformed ordinary wooden sheets into a functional and stylish watch organizer. Now, you can proudly showcase your timepieces while keeping them safe and organized. Remember, the possibilities for personalization and customization are endless, so feel free to experiment and make the watch box design truly your own.